
Featured Press
Adapt Introduces Integrated Global Performance Marketing Model Combining AI, Automation, and Linguistic Expertise
New positioning formalizes AI-integrated operating model and reinforces Adapt Studio as a performance-driven localization engine.

AI Search Roundup: The Biggest Google, ChatGPT and SEMrush Updates from June–July 2026
AI search moves fast, and the last few weeks have…

Google Slashes AI Citation Sources by 59%: What It Means for Your Brand’s Search Visibility
New research published in June 2026 by AI platform Evertune…

Grounding Queries vs Fan-Out Queries: The Two Hidden Layers of AI Search Visibility
Grounding queries and fan-out queries are the two AI retrieval mechanisms…

Google vs ChatGPT: Who Is Winning the AI Search Race and What It Means for Your SEO Strategy in 2026
For three years, the dominant narrative in search was simple:…
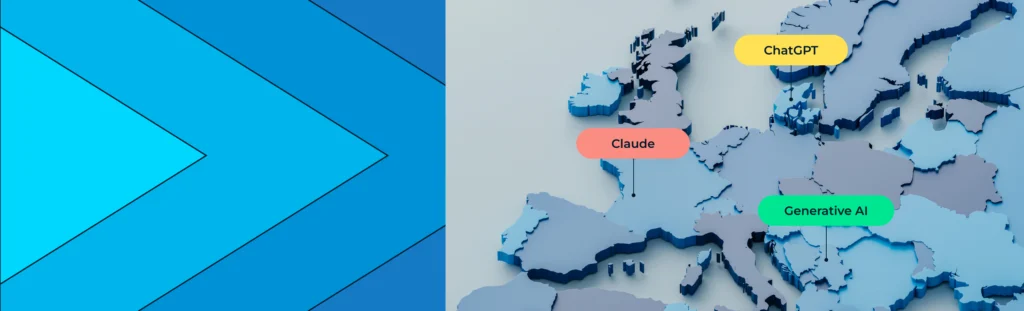
AI Model Usage in Europe 2025-2026: Which Countries Use ChatGPT, Claude and Generative AI Most?
More than a third of all adults across the EU…
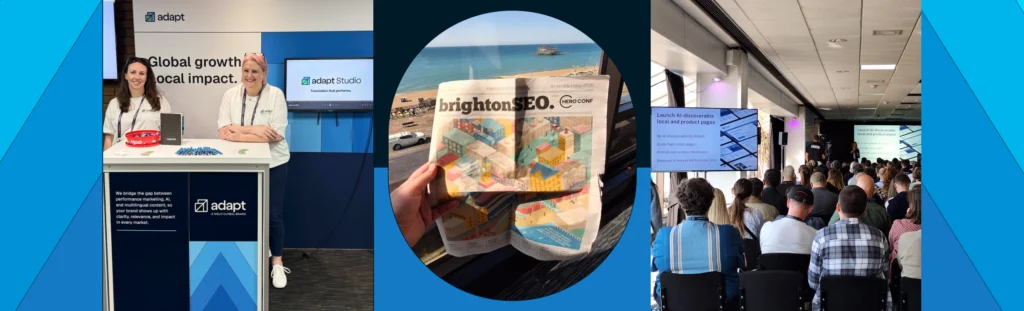
brightonSEO April 2026: 9 Key Takeaways You Need to Know
brightonSEO returned to the seafront in late April and early…

The rise of the AI-Native agency: from execution to architecture
What’s next for digital performance marketing agencies?

Building a stronger search foundation – Technical SEO update.
Welcome to the first technical SEO update of the year!